Showing posts with label Dinner. Show all posts

Tuesday, September 24, 2013

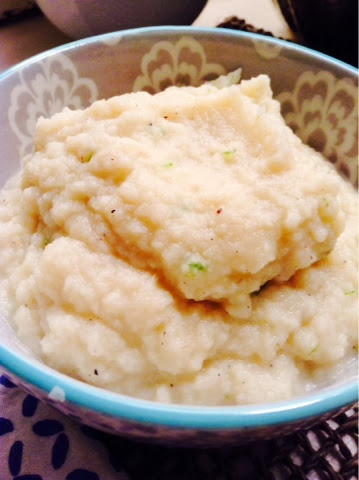
Roasted Garlic Cauliflower Mash

Cauliflower mash came into my life in high school, when my stepmom made it as part of the South Beach Diet. And then it left my life, quickly, not to appear again until this past weekend. Perhaps I didn't have the same appreciation for food that I have now (well, not perhaps, that's a fact). I definitely didn't have the same palate, and now I gravitate towards healthier foods. Whatever the reason at the time, I hated it, and it's been a long-running joke in our family ever since.


But then, this past weekend my parents were visiting New York, and we had quite a memorable meal at The East Pole, a new restaurant on the Upper East Side from the guys behind The Fat Radish. The best part of the meal? Shockingly enough, the cauliflower mash.


It was creamy, garlicy, and buttery. Perfectly seasoned, and the kind of dish that melts in your mouth. 


Needless to say, it drastically changed my opinion of cauliflower mash, and I knew I had to make it in my own kitchen. Where did I turn? To the new cookbook by Danielle Walker, the acclaimed blogger behind Against All Grain (a gluten-free, dairy-free, and grain-free blog).


As always, I tweaked the recipe slightly, and it did not disappoint. While it wasn't quite as buttery as what I had at The East Pole, it was no doubt healthier and certainly still full of flavor. It's a perfect alternative to mashed potatoes or polenta, and was a great addition to my Meatless Monday dinner last night.  


Roasted Garlic Cauliflower Mash

Time: 20 minutes
Servings: 4

Ingredients:

3 cloves garlic
1 teaspoon olive oil
1 head cauliflower, trimmed into florets
1/4 cup almond milk, warmed
1/2 tablespoon butter, melted
1 1/2 teaspoons fresh scallion, diced
1 teaspoon sea salt
1/4 teaspoon black pepper

Preheat oven to broil. Peel garlic cloves and place in a small dish and drizzle with olive oil. Place on lower oven rack and roast for 8 to 10 minutes or until golden brown and soft. 

Meanwhile, bring a medium to large pot of water to a boil and add cauliflower. Cook for 12 minutes or until tender. Drain water and place cauliflower in a food processor. 

Add garlic, almond milk, butter, scallion, salt, and pepper to food processor. Process until smooth (consistency should be the same as mashed potatoes).

Tuesday, July 23, 2013

Basil Chicken Salad

So I must admit that while it's been a few weeks since I've posted a recipe, I've been cooking up a storm. In full disclosure, some recipes have been a success, others have been a failure (or at least need major tweaking). But that's all a part of life in the kitchen, right?

If you live in New York City, you know how dreadfully hot it's been the past few weeks. Just plain awful. It was in the high 90s every day last week, and so far this week it hasn't been quite as hot, but painfully humid and just plain gross. Which doesn't bode well for spending a lot of time in a hot kitchen. But who says you have to be in a hot kitchen? I'm staying far, far away from my stove and oven... At least for now.


Let me bring you up to speed. A few weeks ago I made the life-changing decision to buy a Crock-Pot. Seriously. Life-changing. I'm completely obsessed and don't know how or why I went so long without one. I've been using it constantly, and I'm on a major chicken bender. I mean, it's genius. You plug the thing in, set the timer and the meat just sits and cooks slowly, whether overnight while you're sleeping or during the day while you're at work. Genius. I like to thrown in three or four chicken breasts, a carton of chicken stock, half an onion, some garlic, rosemary, half a lemon, salt and pepper. Delicious.


I've been shredding the chicken and using it in salads for lunch, but decided to take it up a notch when I saw a recipe for basil chicken salad in a recent issue of America's Test Kitchen (which I'm going to subscribe to immediately, and I suggest you do as well). It originally called for one cup of mayonnaise and less basil, but I'm not a huge mayonnaise fan and decided to substitute in Greek yogurt and sour cream. I also wanted to make it my own, as much as I could.  I mean, can you think of a more perfect summer recipe? I love the spin on traditional chicken salad, and lord knows how great (and plentiful) fresh basil is this time of year. Although I will say, the basil in my indoor urban garden is not doing well at all.


As you know, I'm all about easy recipes that take less than 30 minutes. With the exception of cooking the chicken in the Crock-Pot, which takes barely any effort and can be done ahead of time, this took ten minutes. I know, you're welcome. So in the interest of time, I'll stop blabbing on move on to this delicious summer recipe. 

Basil Chicken Salad

Servings: 3-4
Cooking time: 5 hours + 10 minutes 

Ingredients:

3-4 organic chicken breasts
1/2 onion, chopped (white or yellow)
2-3 cloves garlic, diced
1/2 lemon
1 tablespoon rosemary
1 carton organic low-soduim chicken stock

3/4 cup 2% fat Greek yogurt
1/4 cup low fat sour cream
1/2 cup freshly grated parmesan cheese
3/4 cup fresh basil leaves
2 garlic cloves, diced
Juice of 1/2 lemon

1/2 Granny Smith apple, cubed
3 celery sticks, chopped
4 cups organic baby arugula 

Place the chicken breasts, onion, garlic, lemon, rosemary and chicken stock in the Crock-Pot and cook on low for five hours (it will stop cooking after five hours and remain heated, but I wouldn't let it sit for more than four or five hours after it's done). Remove layer of fat from chicken breasts, place in a separate bowl and shred with a fork. Cover and place in the fridge (it usually keeps for up to three days, maybe four). 

Combine yogurt, sour cream, parmesan cheese, basil, garlic and lemon juice in a food processor and blend until smooth (about 15-20 seconds). Add salt and pepper to taste.

Combine chicken, basil dressing, apple and celery in a bowl and mix. Serve over a bed of arugula and drizzle with olive oil and lemon juice. 

Enjoy! 

Monday, July 8, 2013

The Cellar's Gluten Free Mac & Cheese

A few weeks ago I had lunch with my colleagues at The Cellar at Beecher's Handmade Cheese in Manhattan (20th St. & Broadway). I really, really love cheese, so I was already looking forward to this meal. But then I also found out they have gluten-free mac & cheese. Double whammy. 

In the three plus years I've been gluten-free, I've never had mac & cheese. It's such a heavy dish and to be honest, just not really something I ever crave. 


But this. This was melt-in-your mouth good. This made up for three plus years of no mac & cheese. And it wasn't just gluten-free good. It was good good. Even my colleagues (most of whom are big food lovers) tasted it and agreed.

So Beecher's, I've got to give credit where credit is due. Your warm, gooey, creamy gluten-free mac & cheese surpassed any and all expectations. So to you I say kudos, and thank you. 

And to any of my readers living in the Manhattan area, do yourself a favor and head on over to The Cellar at Beecher's Handmade Cheese. Heck, invite me along! And if you don't have time to sit down and eat, you can also grab some from the freezer in their upstairs storefront and bring it home.  

Oh, and try some free cheese samples while you're at it. 

Tuesday, June 25, 2013

Tilapia with Tomatillo Salsa

As I mentioned very briefly in my previous post, I've been on somewhat of a paleo-inspired diet lately. My team at work decided to do it together for a week and see how it went, and, so far, pretty good. I'm on my ninth day (well, seventh really, because I fell off the wagon at a wedding this weekend).

One of my best friends has been eating paleo for the past year or so, and she's seen tremendous results and I think has felt really great overall (she's also a CrossFit addict). It makes sense. You're cutting a lot of carbs (particularly starch), dairy and sugar.

Now I'm no expert on the paleo diet and I won't pretend to be, but I will say that cutting out sugar has been huge for me. Those of you who know me well know about my sweet tooth. Specifically, my gummy bear addiction. I eat way too much sugar and I could already see a difference in my body and how I felt after cutting it out for just a few days.

Look, being gluten-free already limits my diet substantially, so I don't think I could stick to a strict paleo diet forever. It also involves a lot of meat eating, and probably a little too much for me (which is why I've been experimenting more with fish of late). But I think there's something to be said for eating a ton of vegetables and minimally processed foods.

I'm starting to reintroduce fruit back into my diet this week because I was really missing my green smoothie every morning, which has banana and pineapple in it. But I'm going to try and stick with the no dairy (again, tough for me because I love cheese) and no sweets. I'll keep you posted!


 So, moving onto today's recipe! Last night I decided I wanted to make fish tacos (sans taco because I'm not currently allowed to eat corn tortillas), so I did a little investigating on the internet. Not surprisingly my search led me to one of my favorites, Mark Bittman. I've never tried a Bitty recipe I didn't like. And they're simple and easy, which as you know is my motto when it comes to cooking.

I landed on this recipe for Tomatillo Salsa and knew I had to try it (and I knew my boyfriend would love it, which he did). I always need a little kick with fish, and a perfect kick this was. As always, I amended the recipe to make it my own (threw in some yellow tomatoes, avocado and additional cilantro), but many thanks to Bitty for the inspiration and culinary guidance.


The colors were beautiful. The green salsa, white fish and gorgeous purple cabbage I picked up at the Union Square Greenmarket (my absolute favorite) complimented each other so well on the plate. I didn't want to ruin the picture perfect meal by taking my first bite!


I loved this meal because it was delicious and totally nutritious, with all natural ingredients. Nothing was processed, and most everything was 100% fresh. I didn't need a tortilla or two to fill me up; this was enough. As I continue down this paleo rode I realize how much food I've been unnecessarily eating (ahem, cheese and crackers before dinner every single night).

Okay, so enough blabbering from me and onto the recipe! I'm mad I didn't take better pictures, particularly of the fish and salsa before I plated everything, but hopefully you can get a good enough sense from what I included above. (Side note: I'm hoping to stop taking pictures on my iPhone and start taking more professional looking pictures with my Nikkon D3000, but I'm still trying to figure out my new lens.)

Tilapia with Tomatillo Salsa

Yield: 2 servings
Time: 30 minutes

For the salsa:

2 cups rinsed and chopped tomatillos (they're not supposed to be ripe like a tomato, so don't worry)
1 large poblano pepper (also called poblano chili), chopped
2 small yellow or green tomatoes, chopped
1 teaspoon garlic, minced
1/4 white onion, chopped
1/4 avocado
1/2 jalapeño, minced
Juice of 1/2 lime
1/2 cup fresh cilantro, chopped
Salt and pepper to taste

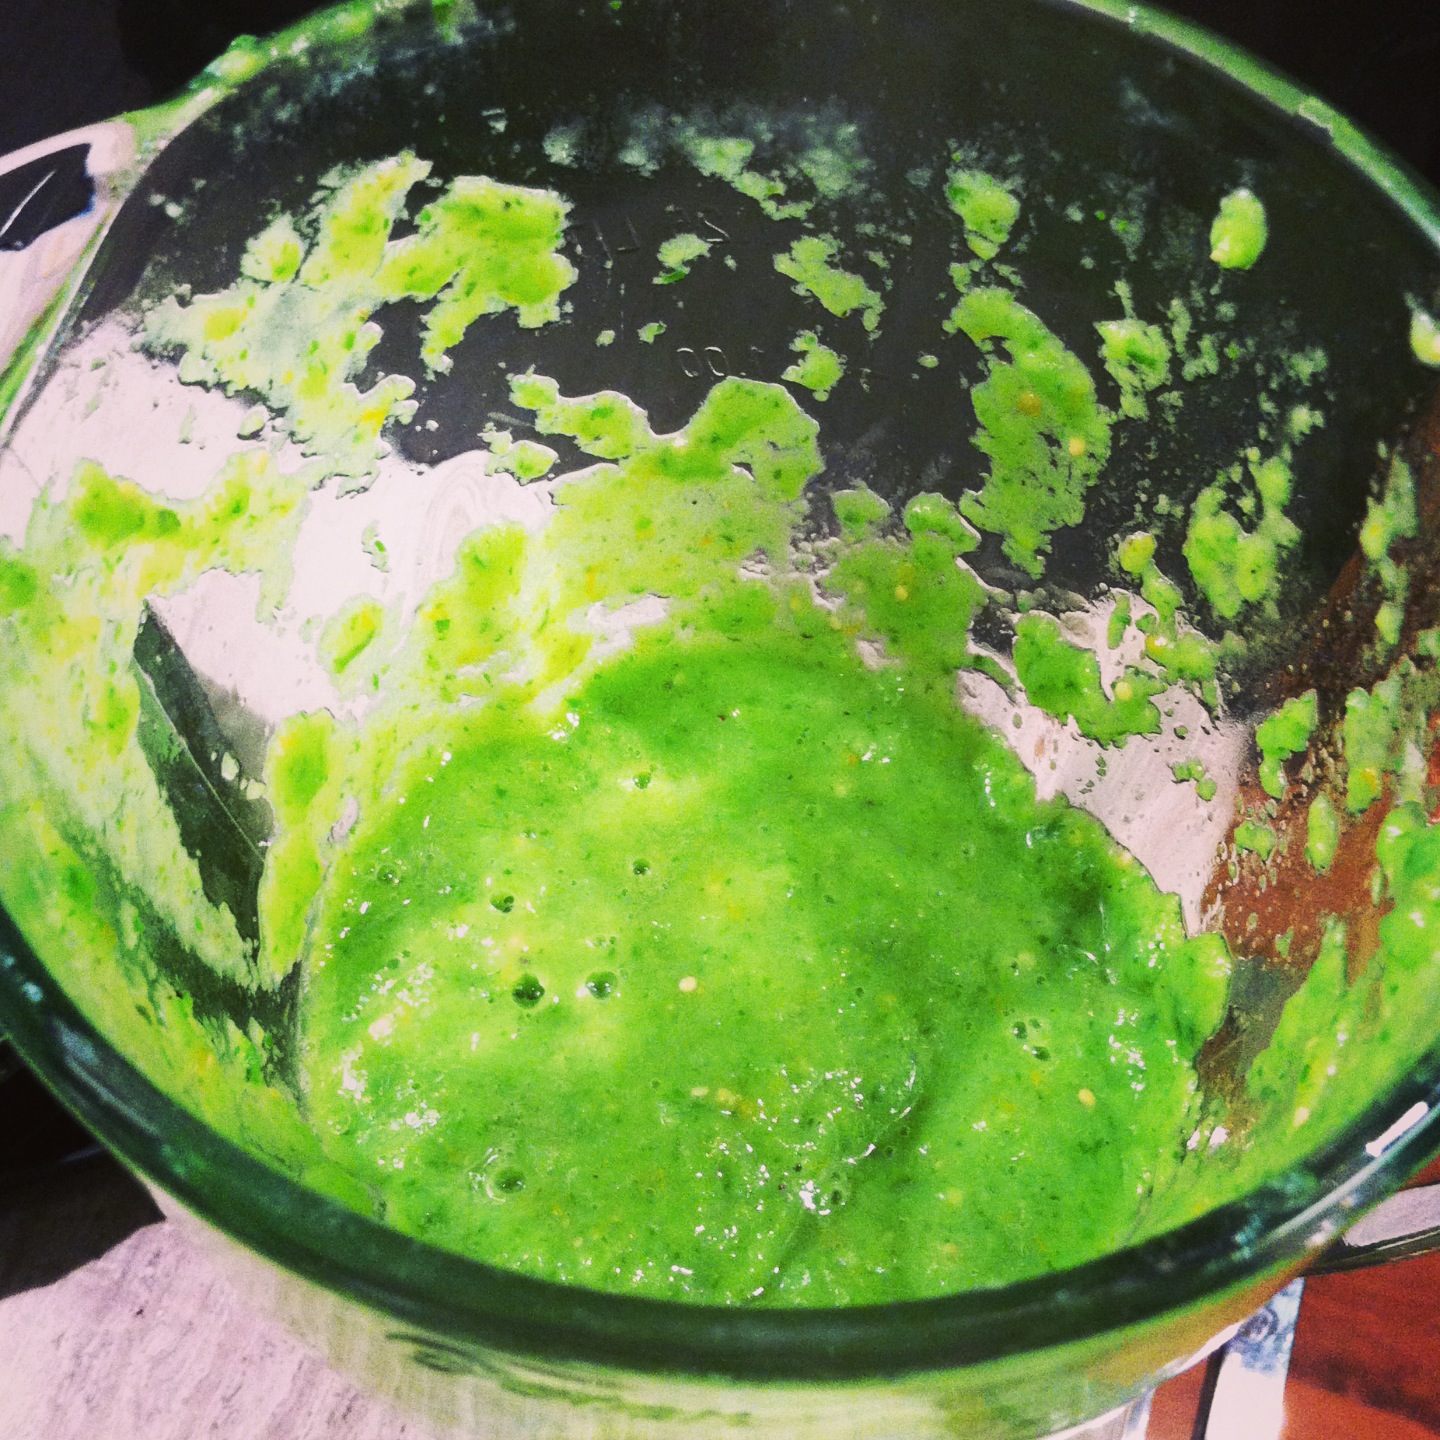
Chopping is time consuming, but not everything has to be perfectly chopped because you're throwing everything into a blender. Put all of the ingredients into a medium bowl and transfer to the blender when ready (you might need to do this in shifts, depending on how big and powerful your blender is). Pulse it on high until it has a salsa or sauce-like consistency (it can be as chunky or smooth as you like).  Taste it, and if you feel like it needs additional flavor, feel free to add anything you like (cilantro, lime juice, jalapeño, salt, etc.).

 For the tilapia:

2 pieces fresh tilapia (serving size is up to you)
1 tablespoon olive oil or coconut oil (the latter is paleo friendly)
Salt and pepper to taste

Heat oil in a sauce pan. Add tilapia, sprinkle with salt and pepper and cook for 2-3 minutes (until white). Flip and do the same on the other side.

Place over a bed of shredded fresh cabbage (about 1 cup per plate), top with tomatillo salsa and serve immediately!

We also threw together a side salad with tomatoes, avocado, cilantro and lime juice, which was a perfect compliment to the dish.

Enjoy!

Monday, June 24, 2013

Summer Green Salad


The weather in NYC has been beautiful recently, and the last thing I want to do is sit inside at my desk all day. Sometimes I find my mind wandering, thinking about what I want to make for dinner and mentally whipping up a new recipe. With all of these fabulously delicious and fresh summer ingredients available at my fingertips, I really can't go wrong.


But lately I've been stuck on this one particular salad. It's so darn good. And so ridiculously easy to make! It's full of brightly colored vegetables and the chicken sausage and edamame give it some some added protein.


Salads don't always do it for me for dinner, but this one does. And I've been eating it again and again and again, and much to my surprise I'm still not sick of it!


I've been using green beans, edamame, peas, tomato, avocado and chicken sausage, but you really could throw in whatever sort of vegetables you want.


And the best part is, this should be filling enough that you won't need a carb on the side. But if you do, I recommend an incredibly delicious gluten-free roll from Free Bread (my favorite is The Jalla). More on Free Bread to come soon—all of Karen's products are amazing (and not just gluten-free amazing. Amazing amazing). 


Summer Green Salad

Yield: 1 serving
Time: 15 minutes

2 cups fresh green beans
1/2 cup frozen peas
1/2 cup frozen edamame
1/2 cup fresh tomatoes, chopped
1 link Al Fresco Roasted Garlic & Herb Chicken Sausage (you can use whatever you want, but I like this because it's gluten-free)
1/4 avocado, diced
1-2 cups arugula, spinach or fresh greens of your choice

Bring 5 cups water to a boil in a medium size pot. Throw in the green beans, peas and edamame and cook for 4 minutes. Strain and set to the side to cool.

Sauté chicken sausage in olive oil (or, since I've been trying to stick to a paleo diet the past few weeks, I've been using coconut oil spray) on medium heat for 5-8 minutes, or until browned.

For the dressing:

1 teaspoon dijon mustard
1 teaspoon olive oil
1 teaspoon honey
2 teaspoons red wine vinegar

Mix together in a small bowl. 

And there you have it! Combine the veggies and sausage in a large bowl, drizzle the dressing on top and salt and pepper to taste. I usually like to add some freshly grated parmesan cheese on top.

Enjoy! 

Monday, May 13, 2013

Roasted Tomatoes with Feta

I'm back with a new, delicious and super easy recipe that's sure to be a hit this summer, whether you make it in the oven or on the grill.

If you're like me, you love tomatoes. Especially when they're ripe and juicy. I've been making a big effort for the past year or so to buy organic and/or local produce when I can, and I have to tell you, it makes such a difference in the flavor. In my book, it's worth spending a little extra.


 I often find myself with extra produce (or just food in general) in my fridge, and I hate to waste it. So sometimes I have to improvise. Improvising is fun. Last week I had spinach and feta that I wanted to use, so I got a little creative. Full disclosure I don't love feta, but I had some left over from another recipe involving baked chicken, tomatoes and feta. So I stopped by the grocery store on my way home from work, grabbed some red, plump tomatoes, and threw together a healthy and very satisfying dinner.


One of the great things about this recipe is that it's completely vegetarian, and with the spinach and tomatoes it's pretty chalk full of nutrients. I'm trying to make more of a conscious effort to eat vegetarian when I cook during the week. Yes Mark Bittman, you have forever rubbed off on me. If you make enough, you should be satisfied, but you can always throw in some quinoa or millet on the side if you're afraid of going to bed hungry.

Roasted Tomatoes with Feta

Serves: 1
Cooking time: 15 - 20 minutes

Ingredients:

2 ripe tomatoes
1 teaspoon olive oil
2 tablespoons feta
1 - 2 cups spinach

Pre-heat oven to 400º. Cut the tomatoes in half, put them in a glass baking dish and cover lightly with olive oil. Sprinkle with feta and cook for 15 minutes. Place on a bed of spinach, drizzle with balsamic and add salt and pepper to taste. Enjoy!

Tuesday, December 4, 2012

Chicken & Rice Soup

For the past two weeks I was battling a terrible cold that would not go away. No matter what I did. And it was miserable. A cold is such a common ailment but it also can be incredibly debilitating. Plus, I'm a huge baby when I'm sick. 


After week one I realized I probably needed some good old chicken soup. I didn't want to buy a can of soup because although they're cost-effective they also tend to be loaded with sodium. Since I've been on such a soup kick lately I figured why not try my hand at homemade chicken and rice soup.


It was pretty easy to make (not very labor intensive) and turned out wonderfully. It was exactly what I needed. And I could be wrong (or just supersticious), but I think it actually made me feel better. People do say chicken soup is the best cure for the common cold!


I hope you're not sick, but if you are, I encourage you to try this at home. And if you're not, it's a great recipe to add into the winter mix.

Chicken & Rice Soup

Servings: 6
Cooking time: 1 hour 30 minutes 

3 small chicken breasts
1 onion, diced (I used a white onion, but yellow would certainly work too)
3 cloves garlic, diced
1 pound carrots, chopped
1/2 pound celery, chopped
6-7 cups chicken stock
1/2 cup white rice, uncooked
Handful of fresh parsley 
Salt and pepper to taste

Season the chicken breasts with olive oil, salt, and pepper and cook in the broiler for approximately 10 minutes or until cooked all the way through. Remove, let cool for a few minutes, and then shred it as best you can. 

Sauté onion and garlic in olive oil for about 5 minutes or until translucent. Add the carrots and celery and sauté for another 5 minutes. Add about 4 cups of chicken stock, followed by the rice and chicken. The rice will absorb a lot of the stock, so you'll need to periodically add more. You can also add warm water as well. Bring to a boil and then cover and simmer for about one hour. The longer you simmer it the more the flavors meld, so you could probably simmer it for close to an hour and a half if you have time. 

Serve hot and enjoy! 

Wednesday, November 28, 2012

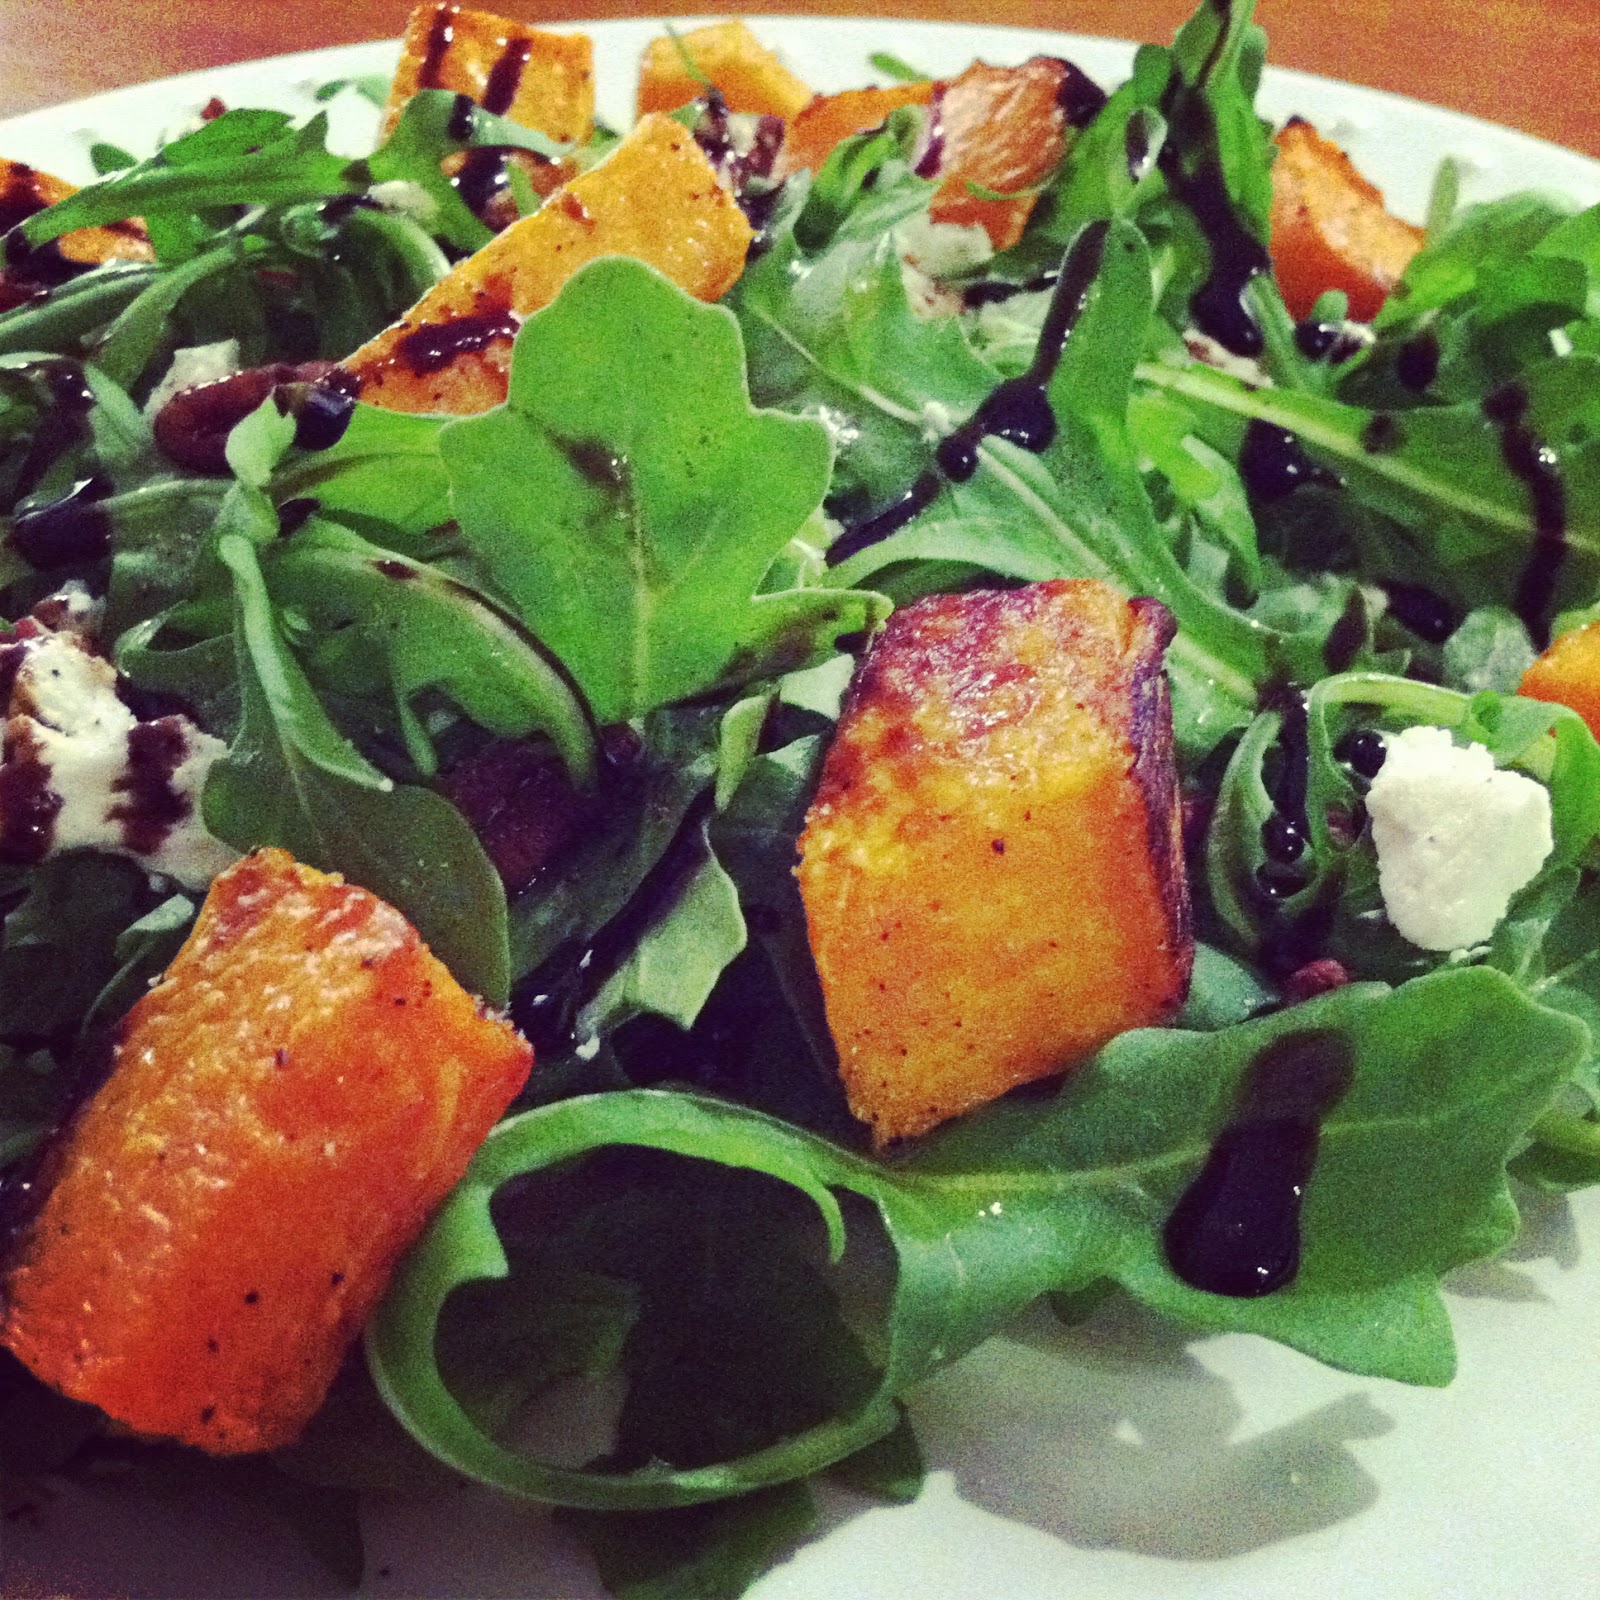
Arugula Salad with Roasted Butternut Squash, Goat Cheese and Pecans

I kept meaning to post this recipe before Thanksgiving, but the days flew by and now here we are almost a week after the fact. I'm mad at myself for not posting this sooner because it would've been the perfect salad for the occasion. Oh well, we're still in prime butternut squash season, so fear not—you have plenty of time to make this. 


Like carrots, butternut squash is loaded with vitamin A. One cup of baked butternut squash has 457% of your daily vitamin A intake. It also has 52% of your daily vitamin C intake, and only 82 calories.


Did I mention it's also delicious?


I love seasonal salads, and this one is no exception. The warm butternut squash goes incredibly well with the goat cheese (which as we all know has a very distinct flavor), and I love how the different textures work together. Of course we can't have a salad without leafy greens, so I choose arugula, but kale would also be a fantastic substitute. Or even spinach.


I roasted a bunch of butternut squash one night and it kept in the fridge for a few days, so I was able to enjoy this salad for more than just one meal. I also had left over roasted chicken, which I threw on there for protein to make this substantial enough to count as a meal. As long as you're not a vegetarian I highly recommend doing this. If you are, quinoa might be the answer for you.


Arugula Salad with Roasted Butternut Squash, Goat Cheese and Pecans

Ingredients:

1 cup butternut squash, cubed
2 tablespoons goat cheese
2 tablespoons pecans
2 cups arugula
Salt and pepper to taste

Instructions:

Preheat oven to 450.

Toss butternut squash cubes with olive oil, salt, and pepper. Cook in the oven for 25 minutes, tossing occasionally, until golden brown (if you're in a time crunch you can just as easily cook it in the broiler for 12 minutes, tossing occasionally). Let cool for 10 minutes.

Toss in with arugula, goat cheese, and pecans. Add olive oil, vinegar (I used my favorite go-to balsamic glaze), salt and pepper to taste.

Monday, November 19, 2012

Carrot Ginger Soup

Recently I've been on a major soup kick. I can blame it on the cold weather, but frankly it's been nice to make something that's easy to digest and give my body a little bit of a break. As you can probably tell I eat a pretty healthy diet, but I've had a million things going on lately and with a busy work and social calendar comes lots of eating and drinking. 


Since I already tackled Pumpkin Soup, I figured why not try another of my longstanding favorites: carrot ginger soup. 


Tackle it I did. This was delicious, healthy and packed with vitamin A and hints of ginger and cinnamon.


And as is my goal here on Gluten Free For All, it required fairly little effort. Once I chopped up the onions, carrots and ginger, I basically let it simmer for 45 minutes while reading a very intelligent book. Okay, let's face it, I was watching ABC's Scandal, to which I am now addicted.


The result? A week's worth of fabulous smelling (and tasting) soup that I brought to work for lunch every day last week.

Carrot Ginger Soup

Servings: 5
Total cook time: 45 minutes (prep time: 15 minutes, cook time: 30 minutes)

Ingredients:

1 pound carrots, chopped
1 yellow onion, diced
2 cloves garlic, diced
1 cup butternut squash, cubed
4 cups chicken or vegetable stock
1 tablespoon heavy cream
1 teaspoon ground cinnamon
Salt and pepper to taste

Instructions:

Sauté onion and garlic in olive oil until translucent. Add carrots, butternut squash and ginger. Pour in the chicken or vegetable stock and bring to a boil. Cook for 30 minutes or until carrots and butternut squash are tender. 

Transfer mixture into a blender and blend until smooth. Add in cream, cinnamon, and salt and pepper to taste. 

Wednesday, October 24, 2012

Baked Sweet Potato with Eggplant, Zucchini, and Melted Cheese

I've really been slacking lately, haven't I? Things have been a little crazy. I'm switching jobs and have been trying to wrap everything up at my old job, since my last day is this Friday. It's nerve-racking. I've been at the same company for four years (since I graduated college), and my new job is going to be a huge change. But I'm really, really excited and can't wait to start. You'll have to forgive me if my posts are sparse in the coming weeks as I try to settle in.


Anyway, the other night I was looking for something new and different to eat for dinner, and a friend of mine sent me a link to a recipe for Sweet Potato Pizza  from the blog Kale with Love. I was immediately sold. It looked incredible.


But, as usual, I decided to tweak the recipe and make it my own. I'm not a huge fan of marinara sauce unless it's on pasta (gluten-free pasta, obviously), so I decided to skip that ingredient, which made it less of a pizza but still equally as tasty.


Baked Sweet Potato with Eggplant, Zucchini, and Melted Cheese

Cooking time: 1 hour, 15 minutes
Serves 1

Ingredients:

1 sweet potato
1/2 eggplant
1/2 zucchini
1/4 cup shredded cheese (I used white cheddar)

Instructions:

Pre-heat oven to 450º. 

Place sweet potato on pan and cook in the oven for an hour.

Slice the eggplant and zucchini and sauté  in olive oil for 5-8 minutes. The eggplant will probably need to cook a little longer, closer to 10 minutes. 

When the sweet potato is done cooking, take it out of the oven, slice it in half, and place the eggplant and zucchini on top. Sprinkle the cheese on top as well. Place in the broiler and cook for 4 minutes, or until the cheese is crispy and golden.

Serve immediately.

This was my entire dinner and I have to tell you, I was completely stuffed. Delish!

Oh, and if you're in a time crunch you could probably just cook the sweet potato in the microwave for about 10 minutes, and then place it in the broiler with the vegetables and cheese.

Monday, October 15, 2012

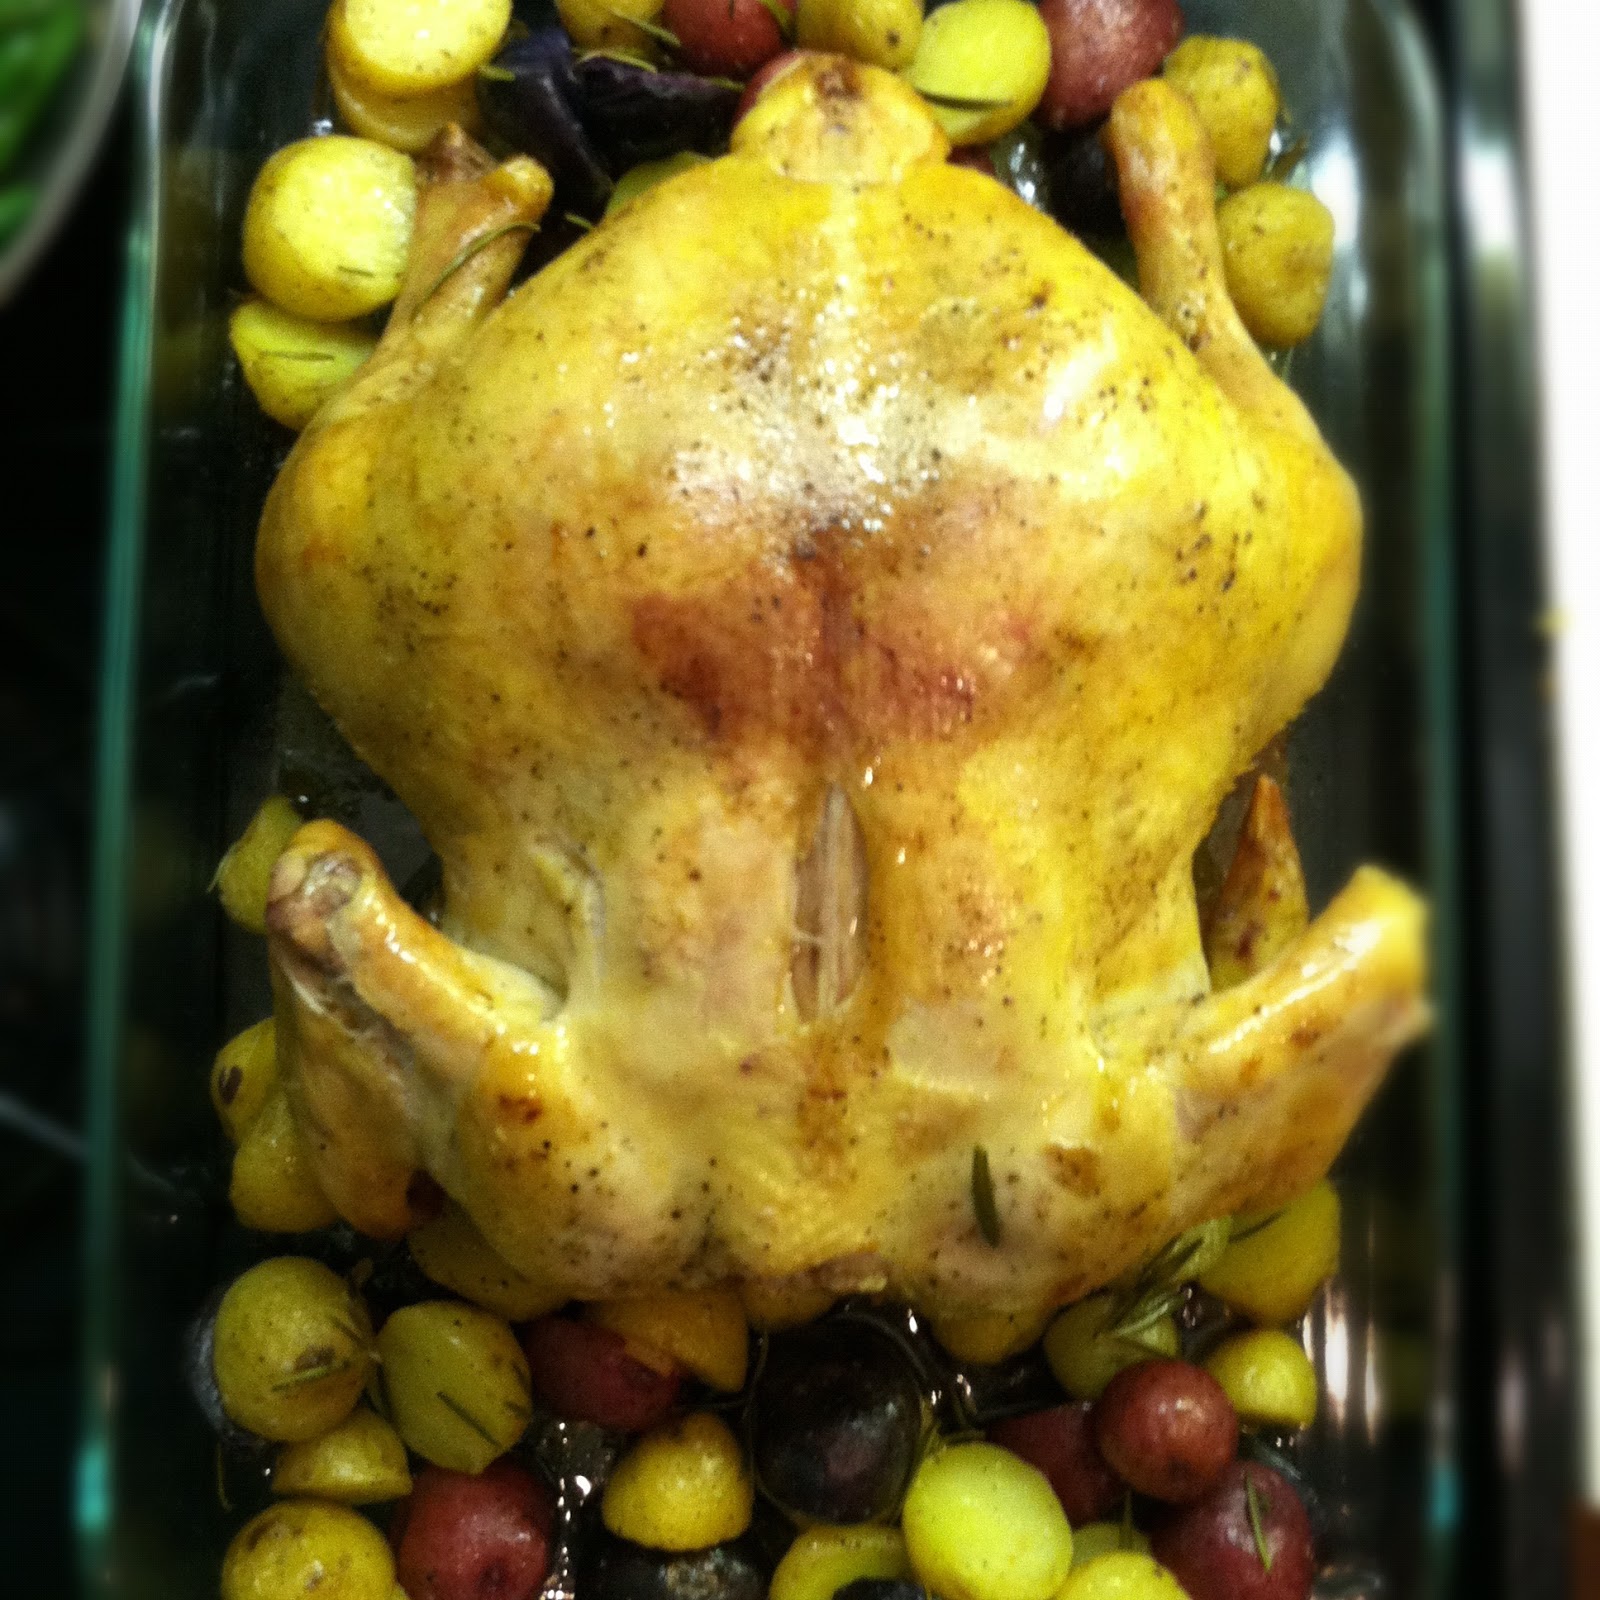
Roast Chicken and Potatoes with Lemon, Garlic, and Rosemary

Is there anything better than a nice, delicious roast chicken for dinner on a Sunday night in the fall? That, plus an insanely good episode of Homeland make for a very nice end to the weekend.


I made my first roast chicken last winter and have made many more since then, always on Sunday nights. There's something so comforting about roast chicken. It's very easy to make (although time consuming, which is why I stick to Sunday nights rather than work nights), and my apartment always smells incredible. I also love having left overs for lunch the following week.


My aunt recently told me she used Jamie Oliver's recipe for roast chicken and that it was fabulous, so I figured I'd give it a shot last night and fabulous it was!

I also love the color of the potatoes I used. Mixed with the colorful green beans, this plate couldn't get any more gorgeous. Or delicious.


Roast Chicken and Potatoes with Lemon, Garlic, and Rosemary

Cooking time: 1 hour 45 minutes

Ingredients:

For the chicken and potatoes:

1 free-range organic chicken
4 1/2 pounds potatoes, cubed (I used colored potatoes)
1 lemon
1 bulb of garlic, broken into cloves (not peeled)
4 sprigs of rosemary
Olive oil
Salt and pepper

For the green beans:

12 ounces fresh green beans
1/4 onion, diced
1 glove garlic, diced
Oliver oil

Preheat the oven to 350º.

Bring a large pan of salted water to a boil. Add the potatoes, whole lemon, and garlic, and cook for 12 minutes.

Meanwhile, rub the chicken with olive oil and generous amounts of salt and pepper. 

Drain the potatoes, lemon, and garlic cloves. While the lemon is still hot, carefully stab it 10 times. Put the lemon, garlic cloves, and rosemary sprigs into the chicken cavity and tie the leg bones together with cooking string to keep in the flavor. Place in a roasting pan (I don't have a roasting rack... yet) and cook for 45 minutes.

Toss the potatoes with olive oil, some rosemary, and salt and pepper to taste. Remove the chicken from the oven and place the potatoes around the chicken. Put it back in the oven and cook for another 45 minutes, or until the potatoes are golden. 

I forgot to do this, but Jamie Oliver suggests removing the lemon from the cavity and squeezing it all over the chicken and doing the same with the garlic gloves (mush it up and smear it all over the chicken). I imagine this really adds to the flavor and will definitely not forget to do it next time. I did remove the rosemary and had some of it on my chicken. Delicious! 

Start cooking the green beans while the chicken still has another 15 minutes in the oven. Sauté the onion and garlic in olive oil for 2-3 minutes on low heat. Add the green beans and sauté for 8 minutes, or until they're cooked to your desire (I like mine a little on the al dente side). 

The chicken was incredibly most and tender, and the potatoes and green beans were terrific

I also made an fabulous gluten-free apple crumble for dessert, and I'll be sharing that recipe with you tomorrow!

Wednesday, September 26, 2012

Kale Salad with Carrots, Raisins, and Creamy Curry Dressing

Kale. How I love kale. Don't you? It's just so darn good for you. According to this article it's the new beef. Per calorie, kale has more iron than beef, and more calcium than milk. One cup of steamed kale has 354.1% of your daily vitamin A, 88.8% of your daily vitamin C, and 10.4% of your daily fiber. It's full of omega-3 fatty acids, antioxidant nutrients, anti-inflammatory nutrients, and anti-cancer nutrients. Studies on five different types of cancer (breast, bladder, colon, ovarian, and prostate) show preventative benefits from kale intake. I'm hyper-aware of foods that have anti-cancer nutrients, particularly anti-colon cancer nutrients, because my mom died of colon cancer when she was in her late 40s and it's obviously a major concern for me. That's why I love kale. It's a super food. If you're interested, you can read more about the nutritional benefits here.


But let's talk about this salad. I borrowed the recipe from Choosing Raw, and it's good. Really, really good. As you've probably started to notice, I incorporate kale into a lot of recipes. It's one of the main ingredients in my Lentil, Kale, and White Bean Soup, and a side dish in my Gluten-Free Zucchini Quiche with Sautéed Kale and my Kale, Heirloom Cherry Tomatoes, and Chicken Sausage. It's a chameleon, if you will, and goes well in or with a huge variety of recipes. 


This creamy curry dressing really takes the cake. The flavor is so perfect with the crunchy kale. And it's so healthy! And of course it's super easy to make and eat throughout the week, whether for lunch or dinner. If you're feeling like you need some greens, definitely try this at home.


Kale Salad with Carrots, Raisins, and Creamy Curry Dressing

Serves 2-4 (depending on portion size)

Ingredients:

Dressing:

1 cup raw cashews or walnuts
1/4 cup lemon juice
4 pitted dates
3/4 cup water
1/2 teaspoons sea salt
2 teaspoons curry powder

Salad:

1 head kale, de-stemmed, cut into bite sized pieces, washed, and thoroughly dried
2 large carrots, grated
1/3 cup raisins

Instructions:

Blend all dressing ingredients in a food processor or high speed blender till smooth.

Massage the kale with about 1/3 cup dressing, making sure that everything is well coated and softened. Add the carrot and raisins, and remix the salad, adding more dressing if you like.

If you want this to be a heartier salad, you could add sliced apple or lentils.

Tuesday, September 25, 2012

Cucumber Avocado Soup

I know that fall is here and the weather is really starting to cool down (it was 55º F when I woke up this morning!), but I'd like to think there's still room in my diet for chilled soup. At least for the next few weeks. I made this soup a week or two ago and have been meaning to post it, but kept forgetting. 


This recipe is adapted from a seven day Detox created by Gwenyth Paltrow, which she posted on Goop. I've never done a full detox, and I've only ever done a one day juice cleanse from Liquiteria in NYC (I've also heard Cooler Cleanse and BluePrintCleanse are equally as good), but I do think it's important to detox your body every so often. I always make a conscious effort to eat healthy and be very aware of what I'm putting into my body (especially since I have to follow a strict gluten-free diet), but I certainly have my slip-ups. As you probably know by now, I have a major sweet tooth. Ahem, Haribo Gold-Bears. If those weren't gluten-free, I honestly don't know how I'd survive. But not all gummy bears are, so if you're eating them be sure to check the ingredients. 


I digress. Many of you probably already know that you have to watch your avocado intake (to a certain extent). If you look at the nutrition facts you'll see that the average avocado has 29 grams of fat and 322 calories. But the good news is that the fat in avocados is considered a "good" fat and has numerous health benefits. It's anti-inflammatory (good for people with arthritis), it helps our digestive tract, and has been shown to lower the risk of heart disease. An avocado also has 13 grams of fiber (54% of the recommended daily intake) and 4 grams of protein. You can read more about the benefits of avocados here

That said, this soup is incredibly creamy and filling, and I highly recommend it for lunch.

Cucumber Avocado Soup

Serves 1
Cooking time: 5 minutes

Ingredients:

1 large cucumber, peeled and seeded
1/2 avocado
Juice of 1/2 lime
1/2 teaspoon salt
1/2 teaspoon pepper

Instructions:

Blend all of the ingredients together in a blender or food processor until totally creamy and smooth. Chill for 30 minutes and then serve.

Tuesday, September 18, 2012

Lentil, Kale, and White Bean Soup


Today is the perfect day for soup. At least, if you're in New York City. It's dark and rainy and windy. All I want to do is curl up in my bed and read a book or watch a movie (or, let's be honest, finish the season finale of Keeping Up with the Kardashians).


Soup is such a cozy food, don't you think? There's something so comforting about it. Maybe it goes back to my childhood, when my parents would feed me chicken noodle soup whenever I was sick. Perhaps there's a bit of nostalgia there.


Regardless, I love soup, and I'm having a blast venturing into the field of soup-making. This summer I made Yellow Tomato and Mango Gazpacho, on Sunday I made Cucumber Avocado Soup (recipe coming later this week), and last night I made the most delicious Lentil, Kale, and White Bean Soup. It was inspired by a friend's lentil soup recipe, but I threw in some additional ingredients and made it my own. It was incredibly flavorful and satisfying, and I can't wait to experiment with other soups this fall and winter. If you have any requests, feel free to post them in the comments section below. In the meantime, stay dry!


Lentil, Kale, and White Bean Soup

Serves 5
Total cooking time: 45 minutes (prep time: 15 minutes; cook time: 30 minutes)

Ingredients:

1/4 onion, chopped
2 cloves garlic, diced
3 carrots, chopped
3 celery stalks, chopped
1 cup lentils
1 can cannellini beans
1 can chopped tomatoes
1 head kale, stems removed and leaves chopped
2 cups chicken broth (or vegetable broth)
2 tablespoons fresh oregano
1 tablespoon freshman rosemary
1 tablespoon distilled white vinegar
Salt and pepper to taste

Instructions:

In a large pot sauté the onion, garlic, carrots, and celery in extra virgin olive oil for 4-5 minutes. Stir in the lentils, cannellini beans, tomatoes, kale, chicken broth, oregano, rosemary, and vinegar. Simmer on medium heat for 25-30 minutes, or until carrots and lentils are tender. Season with salt and pepper to taste.

Transfer to a food processor and blend to the consistency of your choice. This really brings out all of the flavors and creates and creamy consistency, which I prefer to a non-blended consistency. 

Serve immediately and enjoy! 

Friday, September 7, 2012

Roasted Vegetables with Rosemary

Roasted vegetables are a staple of my diet, particularly in cooler weather. They're so easy to make and so satisfying to eat. The great thing about roasted vegetables is that you can work with whatever is in season. As long as you have olive oil, salt and pepper, and an oven, you're good to go.


After last weekend all I wanted to eat was a big plate of vegetables. I went to Whole Foods and slowly made my way through the produce section, picking the best looking vegetables from local farmers. By the time I made it to the checkout counter, my grocery basket was full of carrots, zucchini, red onions, sweet potatoes, and heirloom cherry tomatoes. I'm kicking myself for not taking a picture before I chopped everything up and threw it in the oven. But can you blame a girl? I was starving.


I decided to make enough so that I could bring the leftovers for lunch the rest of the week, which worked out perfectly. I'm a huge fan of incorporating leftovers into lunch. It makes life a lot easier.

This recipe, although the ingredients may vary depending on what's available at Whole Foods or the farmers market, will be my go-to this fall and winter. Whether as a main course, a side dish, or in a salad, roasted vegetables are so flavorful and full of nutrients. You really can't go wrong.


I tossed in some quinoa at the last minute to add some protein and additional texture. I'm a huge fan of roasted chicken, but didn't have enough time or energy to make it this time around. Keep your eyes out for a roasted chicken recipe in the coming weeks.

Roasted Vegetables with Rosemary

Ingredients:

2 large carrots
1 medium sweet potato
1/2 large red onion
1 large zucchini
1 1/2 cups heirloom cherry tomatoes
2 tablespoons rosemary, chopped
1/4 cup extra virgin olive oil
Salt and pepper to taste

Instructions: 

Preheat the oven to 400º.

Chop all of the vegetables,  except for the tomatoes, transfer to a large pan, and drizzle with olive oil. Toss in the rosemary and make sure all of the vegetables are lightly covered with olive oil. 

Transfer the tomatoes into a small pan and drizzle with olive oil. They need to be cooked separately because they release a lot of water, and you don't want that mixing in with the other vegetables.

Bake for 30 - 40 minutes, or until tender and golden. Drain the water from the tomatoes and mix together in one pan. Serve hot. 

Tuesday, September 4, 2012

Eggplant and Zucchini Frittata (and Highlights from Labor Day Weekend)

Well, it's official. Summer is over. Womp womp. Apologies for being such a Debbie Downer, but I'm sad and I'm allowing myself to wallow for a moment. Okay, all done. (And if you have five minutes after reading this post, click on the above link and watch one of my all-time favorite SNL sketches. It will bring you out of your end-of-summer depression. I promise.)

Really, what do I have to complain about? This was the best summer. The best. I went on some amazing trips—San Francisco, home to Washington, DC, Cape Cod, the Jersey Shore (the nice part)—and had lots of fun with family and friends. I spent the first part of Labor Day weekend in Sharon, CT relaxing and reading by the pool at my aunt and uncle's house. I mean, really. Does it get any better? Warning: lots of pictures ahead.


I highly recommend the above book, by the way. Alexandra Fuller's memoir, Don't Let's Go to the Dogs Tonight, about growing up on a farm (well, multiple farms) in Africa. It's an incredibly unique, hilarious, shocking, and beautiful portrait of an extremely unconventional family.

I spent the second half of Labor Day weekend with friends at a lake house in Goshen, CT. We went boating, tubing, water skiing, and kayaking. We ate and drank a ton. And we had a blast. What a perfect end to the summer.


Did I mention I ate and drank my heart out?

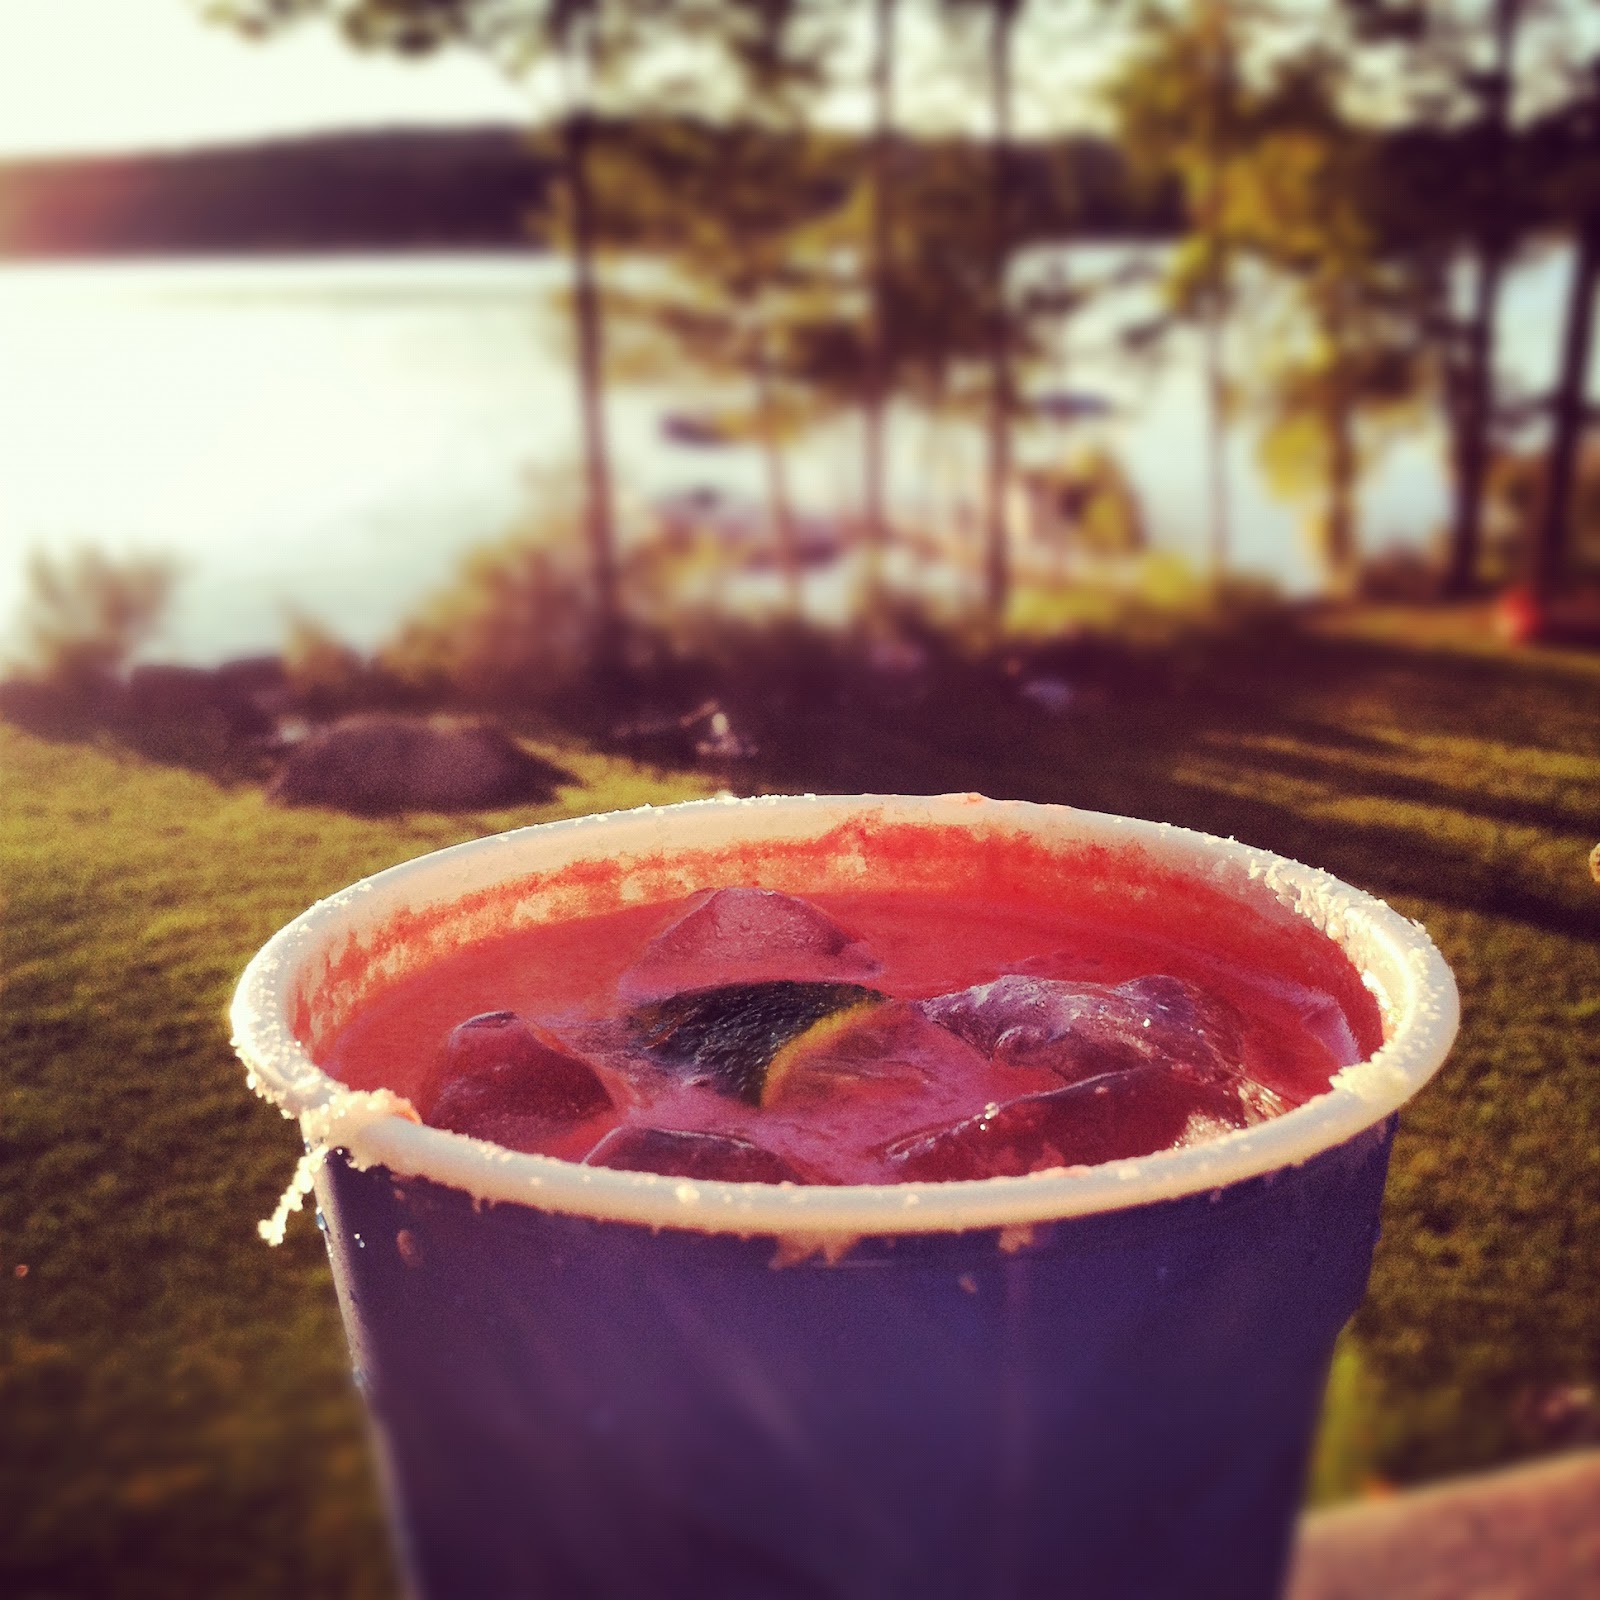
Fresh Watermelon Margarita
Homemade Guacamole
Fresh Figs
Coffee Ice Cream with Dark Chocolate Almonds
And to top it off, last night I went to the US Open with three of my best friends and saw Andy Murray play (and beat) Milos Raonic. 


I'm especially sad this year to say goodbye to all of the wonderful summer produce. Strawberries, blueberries, peaches, figs, tomatoes, and corn on the cob. See you next year! But I'm looking forward to fall produce, and to trying out new recipes to share with you. Cooler weather brings warm, hearty meals, and you won't hear me complaining about that.

Which brings me to my recipe for today. I made this Eggplant and Zucchini Frittata with my aunt, who is an excellent cook, and who has taught me a lot in the kitchen. We made this for dinner one night and then had leftovers for breakfast and lunch the following day. Not too shabby.


Eggplant and Zucchini Frittata 

Serves 8

10 organic large eggs
1 small eggplant, sliced
1 small zucchini, sliced
1 leek (or 1/2 cup), sliced
1 small red pepper, diced
2 tablespoons fresh dill
1/2 cup Jarlsberg cheese, sliced thinly or freshly shredded
4 slices prosciutto, sliced into bite-size pieces 
Salt and pepper to taste

Pre-heat the oven to broil.

In a large skillet, sauté the leek in extra virgin olive oil for about a minute, then add the eggplant, zucchini, and red pepper and sauté for 5 to 7 minutes, or until the eggplant and zucchini are tender. 

In a large bowl, beat the eggs together using a whisk. 

Pour the egg mixture into the pan and combine with the vegetables, stirring with a rubber spatula. Add the prosciutto, Jarlsberg, and dill. Add desired amount of salt and pepper. Cook for 4 to 5 minutes or until the egg mixture has set on the bottom and starts to set on the top.

Move the skillet to the oven and broil for 3 to 4 minutes, until it looks light brown and fluffy. Remove, slice, and serve immediately. Add salt and pepper to taste.

That's it for today. Goodbye summer, and hello fall!